How to install Hosting on Siteground
How to get started with Siteground:
Getting started with hosting on siteground is super easy. It takes less then ten minutes to purchase hosting and sign up your domain name. I can remember when I signed up for web hosting for the first time I didn’t know what I was doing, but after going through the easy 3 step process you can have your website hosted in no time.
Some people including myself thought that it was going to be a bit of a challenge. I had never do anything on the web but surf
Step 1. Choosing your hosting plan and domain name at Siteground
Signing up for a hosting plan and choosing a domain for Siteground is super easy. Let’s walk through the sign up process.
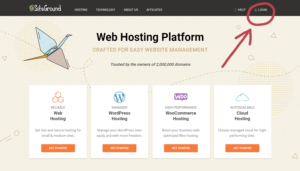
First head over to Siteground and sign in. Then go to hosting where will will choose your hosting plan.

Choosing your hosting plan.
Siteground has three hosting plans.
1.StarUp plan– the StarUp plan is excellent for people who only may have one website and who are just starting.
2.GrowBig plan– The GrowBig plan has great value for people who have many websites or want to create multiple websites and the superCacher that improves website speed
3.GoGeek plan– The GoGeek plan is great for people with larger websites such as e-commerce

StartUp plan GrowBig plan GoGeek plan
$3.95/mo $5.95/mo $7.95/mo
1 Website, Unlimited websites Unlimited Websites
10 GB WebSpace 20 GB WebSpace 30 GB Web Space
Step 2. Choosing your Domain
You can choose to buy a new domain or sign up with an existing domain. Also siteground has a free website transfer, and thats included in the GrowBig plan and GoGeeks plans.

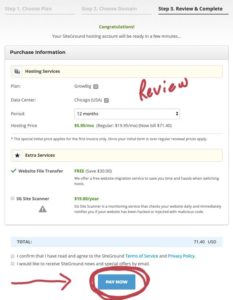
Step 3. Review and Complete
This is the last step in buying your hosting plan and domain name. Make sure everything looks good and hit the pay now button.


